Preface
Web crawler is a relatively comprehensive technology. It requires a relatively good understanding of front and back ends, network protocols, etc., as well as some spirit of exploration.
I focused on the server side in my job in my early years. Later, I got into front-end development. After switching jobs to an Internet company, I started to get involved with crawlers.
The development of crawlers and anti-crawler technologies are mutually upgraded in a spiral manner. Early on, there was server-side rendering, followed by front-end rendering + REST interfaces. In most cases, data observation can be easily performed by observing network access records. Later, various authentication methods emerged, including Referer judgment, IP address interception, UA judgment, etc. These are relatively basic and the requests can be adjusted in a targeted manner to adapt to the server-side rules, such as adding specific HTTP headers or an IP proxy pool, etc. Then, there are complex methods, including image display and font encryption, which means whatever tricks you play I can always counter.
Crawling website data is relatively easy to observe through browsers. However, it is slightly more complicated in mobile applications. In this article, the MITM (Man In The Middle) tool is used to process a certain campus clock-in software (the software is similar to an embedded mini program that uses web technology) to implement an automated clock-in function, including the use of tools, cracking of encryption, etc., for your reference.
Tool Preparation
This article uses a Python tool, https://mitmproxy.org/ . This tool is open-source, and it can not only observe traffic data but also rewrite requests via scripts. Other similar tools include Charles, Fiddler, etc.
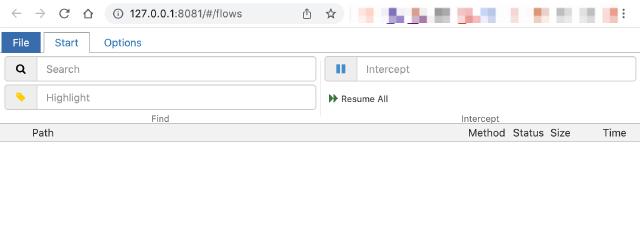
Here, brew install mitmproxy is used to install MITM. After the installation is complete, we use the mitmweb command to open the proxy. The proxy will listen on port 8080. The browser will automatically open http://127.0.0.1:8081/. In this way, we can easily view network requests through the browser. See the figure below:
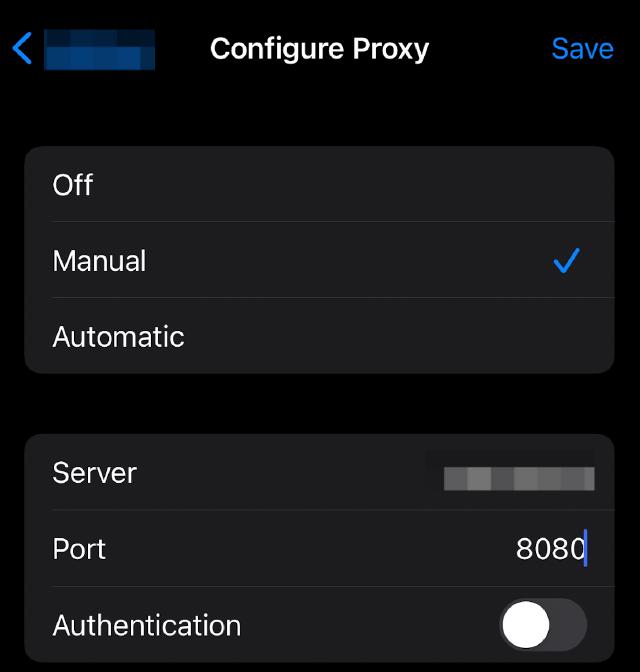
After starting the Man-in-the-Middle proxy, we need to configure the proxy address and the proxy certificate on the mobile phone. To configure the proxy, see below:
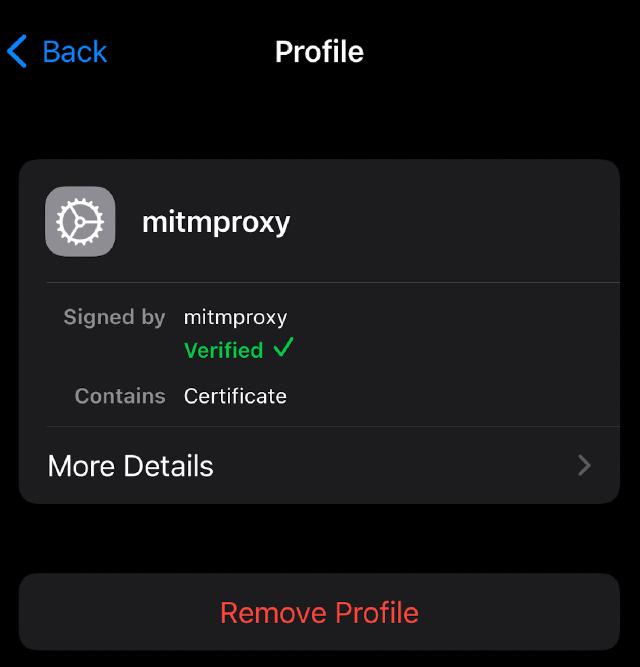
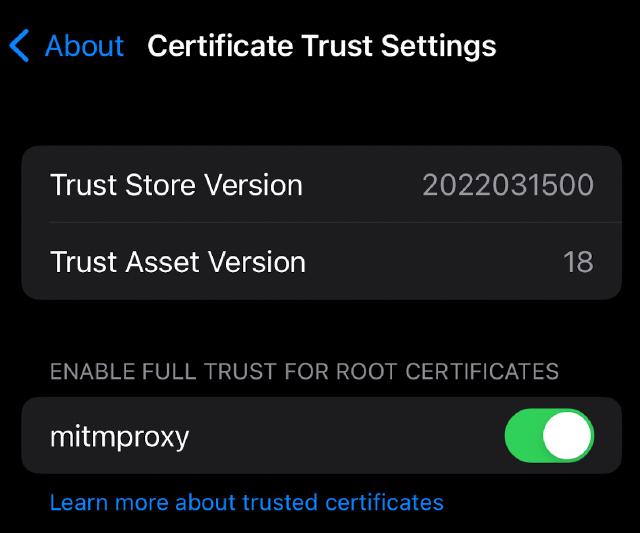
Visit http://mitm.it in the mobile browser, and we will see the certificate installation instruction document (settings are different in different systems). Download the certificate according to the prompts and configure the trust related certificate.
After everything is ready, we can open the application, and then observe the data requests in the computer browser. When the following interface is displayed, it means that the application is going through our proxy service:

Analysis
After the proxy is set up and the mobile terminal is configured, we can start capturing packets. After performing a series of operations in our client, we can view the network request status in the browser. Focus on the data request part. In general, if the data is not encrypted, we can easily see the request parameters and server-side returned content (generally excluding resource requests such as images, CSS, and JS by path). At the same time, observe the content of the request header to find the authentication-related part, including cookies and auth token-related headers. See the figure below for an example:
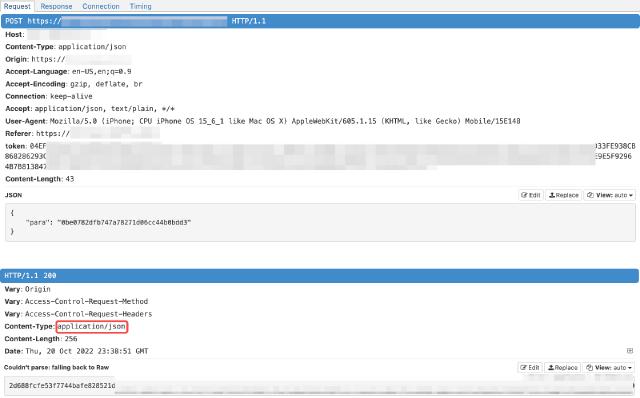
Unfortunately, this example uses the token authentication method, and the request and response seem to have been encrypted, and the content of the request and response cannot be directly seen.
Regarding the authentication part, a simple method is to see if the token can be saved. After a period of time, see if it can still be accessed, which is equivalent to a replay attack. Or log out of the client and observe whether the originally generated token is available. In this example, we copy the request as cURL and then make the request the next day. The returned content has obvious differences. Therefore, it can be determined that the token has an expiration mechanism. In this case, we need to track the historical requests step by step to see in which request the token is returned. Here, different scenarios require different strategies, and flexible application is required. In our example, we can judge which requests are authentication-related requests from the URL path, as shown in the figure below:
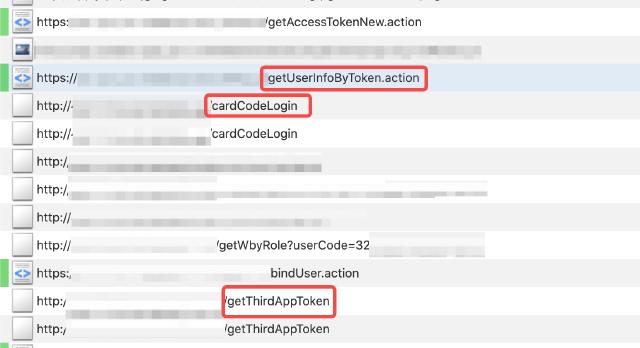
If you cannot judge directly, you can save the mitmweb request as text and perform a full-text search.
When we trace the request and response step by step, we will lose the token source information in a certain loop in the middle. For example, in this example, the token headers used by two consecutive requests under the same domain name are obviously different, as shown in the figure:
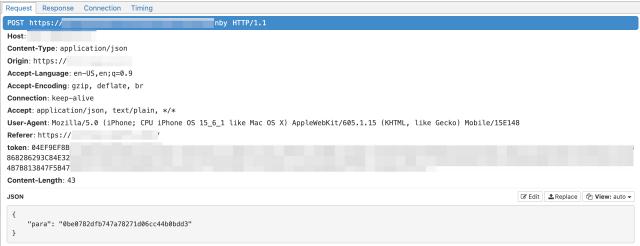
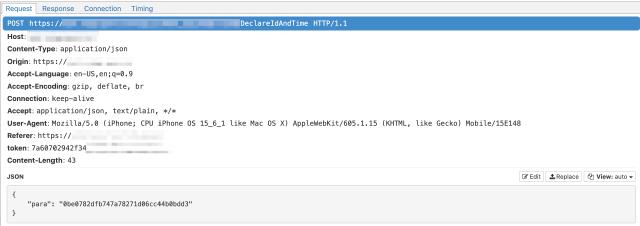
The response of the first request is encrypted, and the token information in the second request cannot be extracted directly. At this time, we need to investigate the encryption and decryption of the client. Generally speaking, web-side encryption needs to be decrypted on the server side. Common encryption methods include symmetric encryption such as AES. In theory, the encryption of the web side can be found by searching for JavaScript code fragments to find the encryption algorithm and key. In actual practice, flexible application is also required.
So how do we find the corresponding JavaScript encryption code fragment and key? First, we need to save the JavaScript code during the network access process to the local. Currently, most front-end engineering will use a packaging tool to compress and package the front-end code. In the file name, vendor is generally a third-party library, which does not need too much attention, app or main is generally the main program entry, and those starting with 0., 1., 2. are generally on-demand loading. The front-end code is divided, and manifest is used for processing.
After the code is downloaded, we use tools to format the compressed code. The single-line JavaScript code can be directly formatted into an easier-to-read format through a development environment such as VS Code. Of course, the variable names and the like inside are still compressed, which is difficult to interpret directly. How to find the algorithm and the key next? Different sites vary greatly. This site only provides some ideas for reference.
One way we can search for the path name in full text. Generally, those involving the URL path are the code that actually sends the HTTP request. This part may include parameters, HTTP headers, etc. See the example below. Search for the path nby in the screenshot above to find a code fragment similar to the following:
async getInformationNBY() {
  await this.$apiPost("/nby").then((t) => {
    if (0 == t.code)
      // omitted
  });
},
It can be observed that this function does not involve encryption and decryption and header processing, which should be handled in the $apiPost function. You can continue to search for the function to find where it is defined.
Another way is to search for key parameters in the request. For example, para in the JSON request in the previous screenshot. The following code fragment can be obtained by searching as a keyword:
function D(t, e, n = 1) {
  S.commit("setShowLoding", !0);
  var i = JSON.stringify({
    para: (0, w.Encrypt)(JSON.stringify(e || {})),
  });
  return new Promise((e, r) => {
    P.post(t, i)
    // omitted
  });
}
It can be seen that the para parameter is operated in it, and the w.Encrypt method is used for encryption, and the default value {} is set.
Then we search for the Encrypt function in full text. Finally, the following code fragment will be found (key information is desensitized):
var i = n(2563),
  r = i.enc.Utf8.parse("****************"),
  a = i.enc.Utf8.parse("****************");
function o(t) {
  var e = i.enc.Hex.parse(t),
    n = i.enc.Base64.stringify(e),
    o = i.AES.decrypt(n, r, {
      iv: a,
      mode: i.mode.CBC,
      padding: i.pad.Pkcs7,
    }),
    s = o.toString(i.enc.Utf8);
  return s.toString();
}
function s(t) {
  var e = i.enc.Utf8.parse(t),
    n = i.AES.encrypt(e, r, {
      iv: a,
      mode: i.mode.CBC,
      padding: i.pad.Pkcs7,
    });
  return n.ciphertext.toString();
}
This is a typical AES encryption and decryption function, where i is the variable name after the module is imported. o is the decryption function. s is the encryption function. The variable names of the function are renamed when the module is exported. So far, we have found the corresponding encryption and decryption algorithms and keys.
Regarding the library used by the algorithm, we can search for the main encryption library of JavaScript. Here, we find that the crypto-js library is used. We use npm to install it and then verify it in the node command line tool. See below:
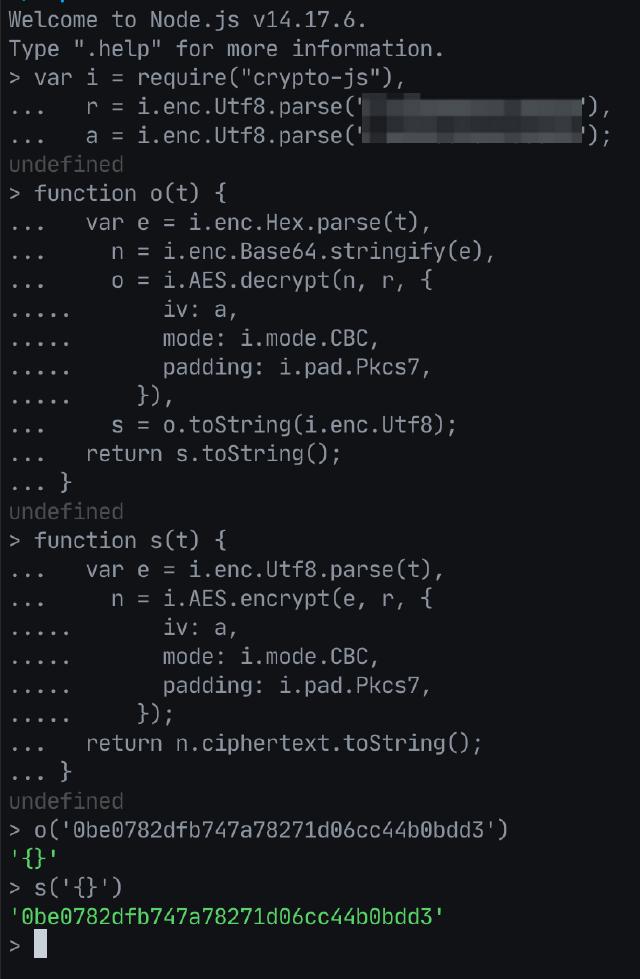
The result is as expected. The data in the captured request can be perfectly encrypted and decrypted. We can decrypt other request parameters and results to view the parameters and content they send and respond to.
The above is a test of data encryption and decryption using nodejs. If nodejs does not meet the current technology stack, it may be necessary to migrate the encryption and decryption code, such as using Python to implement it again:
import binascii

from Crypto.Cipher import AES
from Crypto.Util.Padding import pad, unpad

key = b"****************"
iv = b"****************"
block_size = 16


def encrypt(content):
    cipher = AES.new(key, AES.MODE_CBC, iv)
    content_padding = pad(content, block_size, style='pkcs7')
    encrypt_bytes = cipher.encrypt(content_padding)
    return binascii.hexlify(encrypt_bytes).decode('utf8')


def decrypt(ciphertext):
    cipher = AES.new(key, AES.MODE_CBC, iv)
    encrypt_bytes = binascii.unhexlify(ciphertext)
    decrypt_bytes = cipher.decrypt(encrypt_bytes)
    return unpad(decrypt_bytes, block_size, style='pkcs7').decode('utf-8')
Conclusion
This article takes a small program in a mobile application as an example and briefly introduces the general analysis process of packet capture, authentication, and encryption and decryption involved in web crawlers. Of course, different applications use different protocols, authentication methods, and encryption algorithms, and how to analyze traffic, detect code fragments, or identify encryption and decryption algorithms cannot be covered by simple explanations.
The above screenshots and some code fragments have been desensitized and used for analysis only.