Preface
Oracle Cloud offers users a set of permanently free resources, including compute instances, databases, and storage. This article will guide you through the process of applying for an Oracle Cloud account and creating permanently free machine resources (requiring a Visa or other type of credit card that supports overseas payments; some credit cards may fail to charge, so you can try using an overseas proxy for the entire registration process).
Account Application
Visit the Oracle Cloud official website at https://cloud.oracle.com and click Sign Up to access the registration page. Enter your username, email address, and other required information.
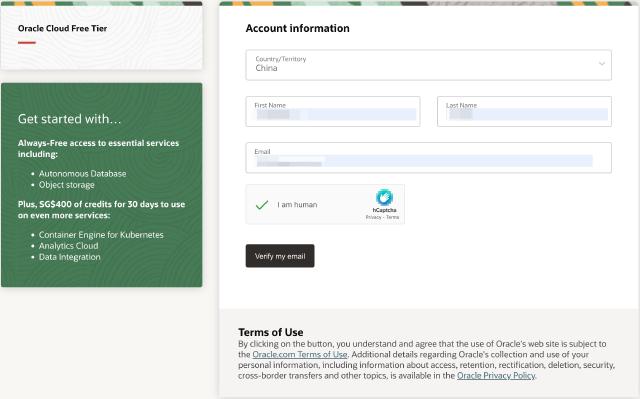
Click Verify my email. The platform will send a verification email (check your spam folder if you don’t see it in your inbox). Click the Verify email link in the email to verify your email address. Then, proceed with the subsequent registration steps.
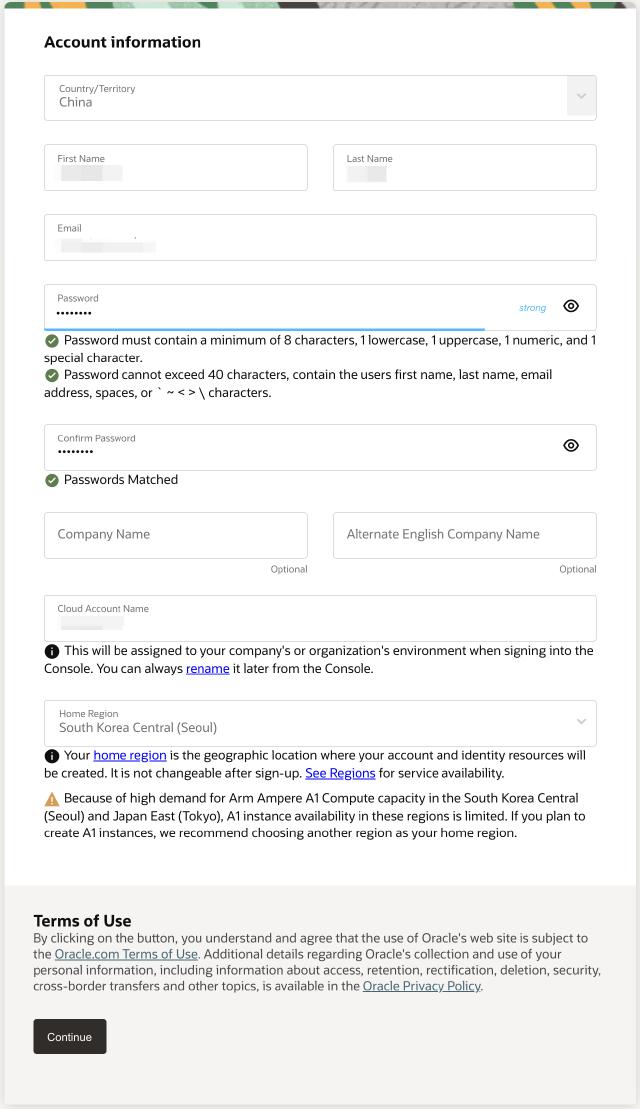
On the next registration page, enter your password, account name, and region information. You can choose Korea or Japan for the region, as this will provide faster access from mainland China. Please note that the default region cannot be changed once selected.
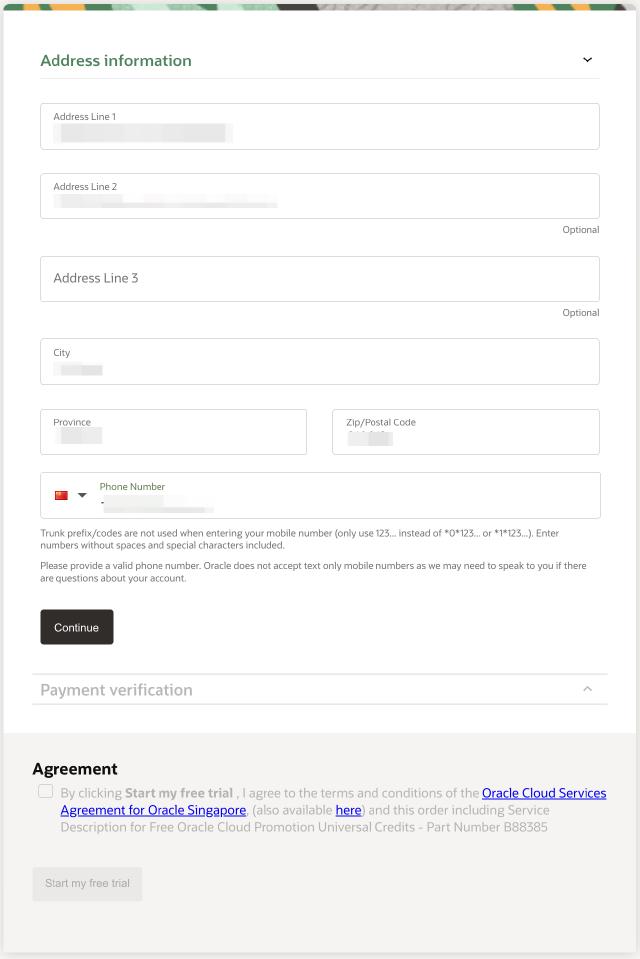
Click Continue and fill in your address and phone number. You can use your mainland China address.
Click Continue and enter your credit card information.
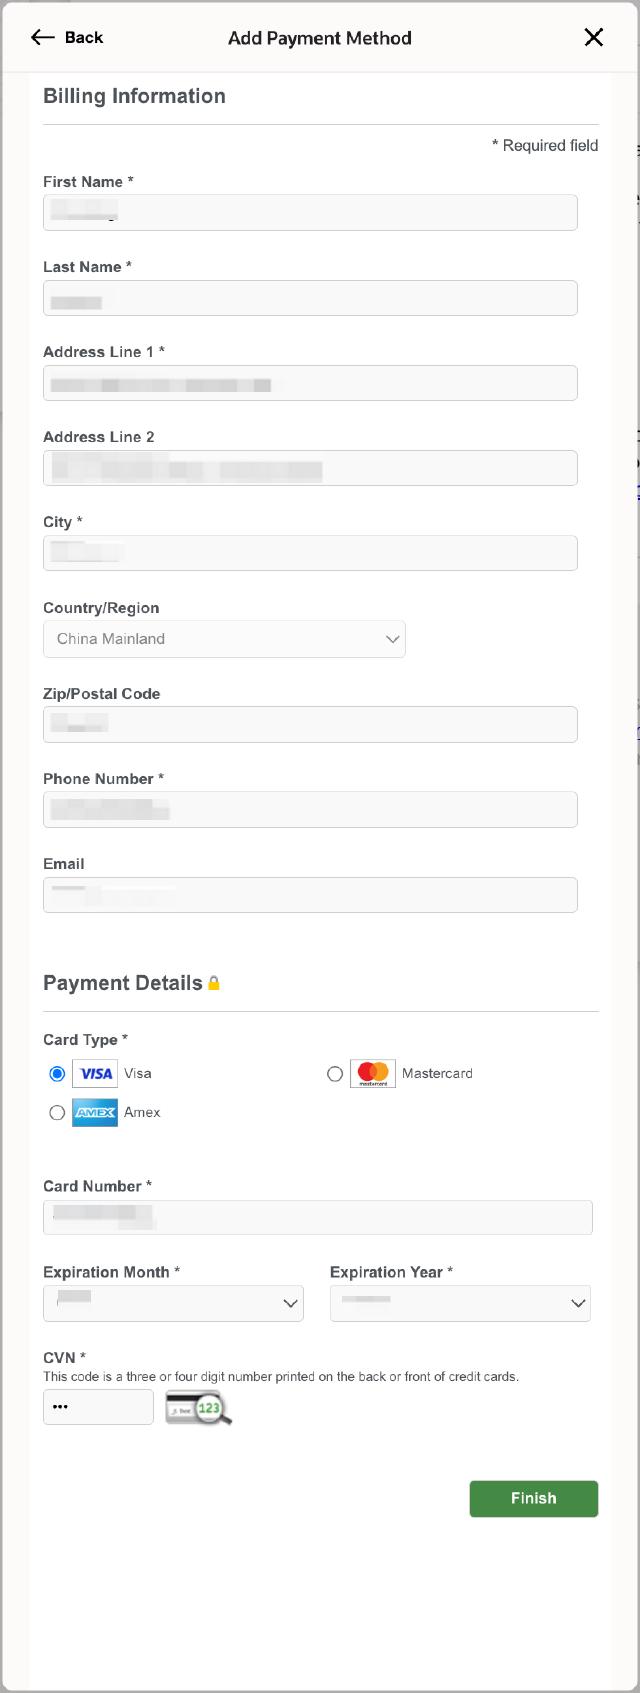
After successful addition, the platform will initiate a charge to verify if your credit card can make payments.

Click Finish. The platform will enter the account creation page, indicating successful registration.

Creating an Instance
After successful registration, enter the management page to create an instance. When creating an instance, you can choose the image type. Typically, only platform-based images have the permanently free tag. You can look for the Always Free-eligible label on the page. The image used in the example is the Ubuntu 22.04 instance image. After selecting the image, upload or paste your public key for SSH login.
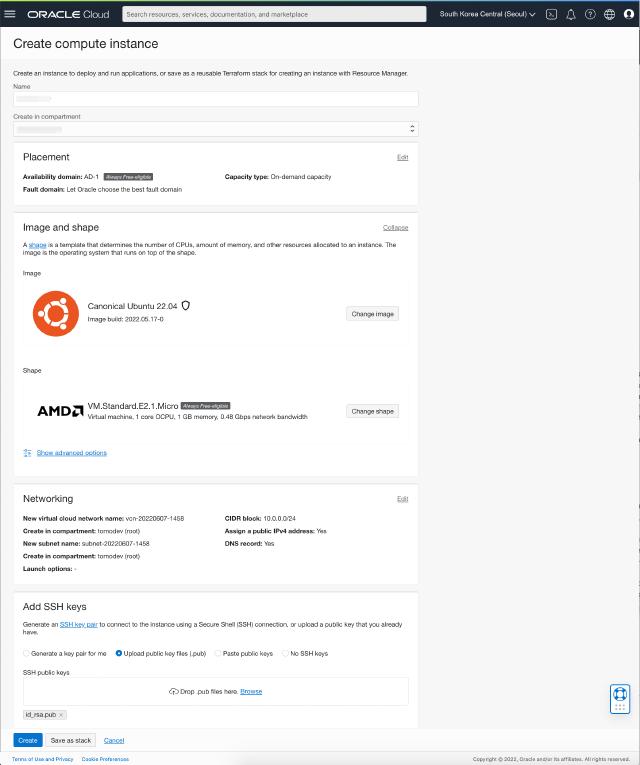
Click Create to start the creation process. The instance will enter the “provisioning” state and transition to the “running” state once creation is successful.
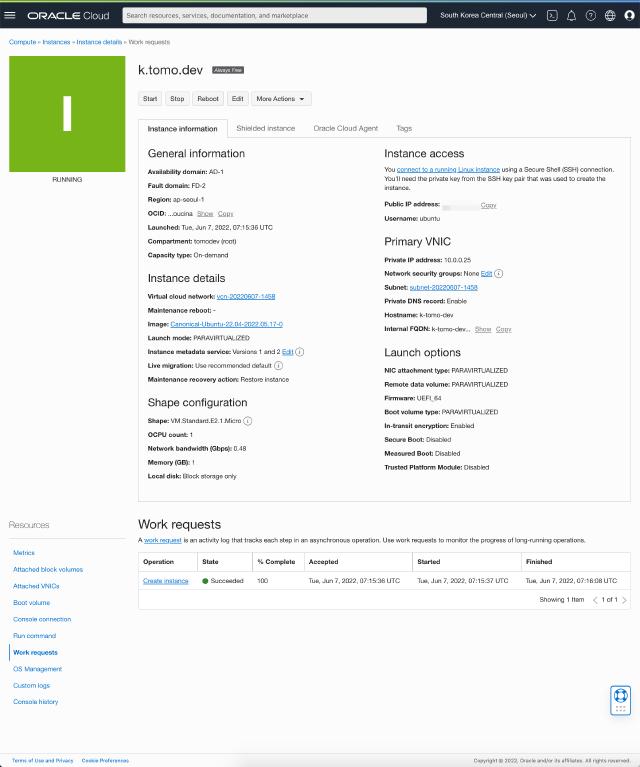
Now, you can see that the instance has been assigned a public IP address, and you can try to SSH into the instance.
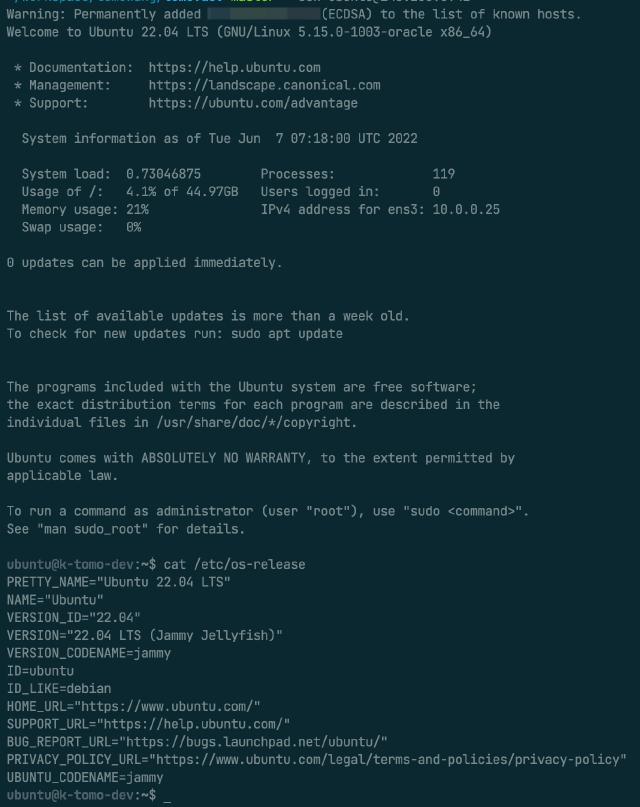
Oracle Cloud instances have a firewall enabled by default. We can disable it and then use NSG or other features for network access control:
sudo iptables -P INPUT ACCEPT
sudo iptables -P OUTPUT ACCEPT
sudo iptables -P FORWARD ACCEPT
sudo iptables -F

sudo iptables -L
################################
# Chain INPUT (policy ACCEPT)
# target     prot opt source               destination

# Chain FORWARD (policy ACCEPT)
# target     prot opt source               destination

# Chain OUTPUT (policy ACCEPT)
# target     prot opt source               destination

# Chain InstanceServices (0 references)
# target     prot opt source               destination
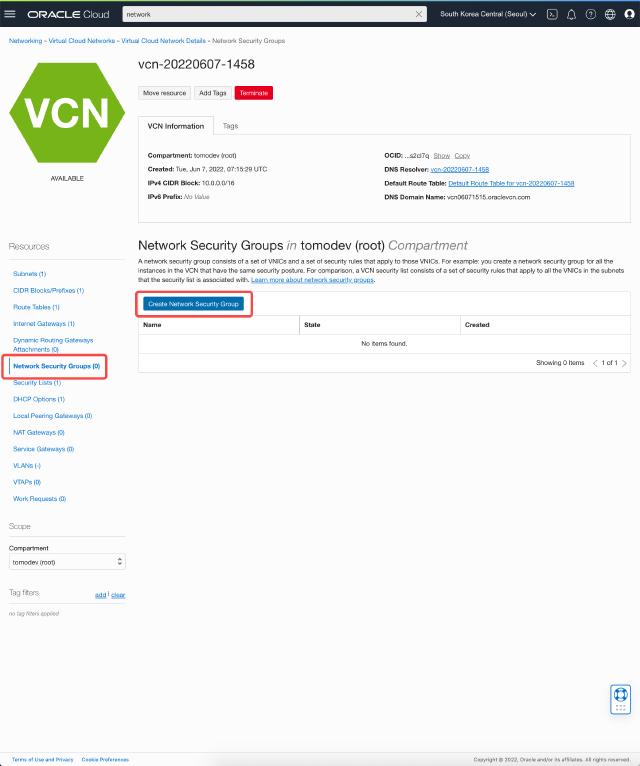
Go to the Virtual Cloud Networks configuration page on the console and click on the default network created in the list.

Select Network Security Groups from the left menu and click Create Network Security Group.
Enter the port information. Here, we open ports
80and443.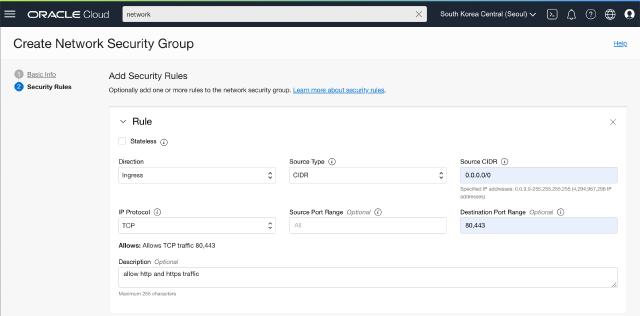
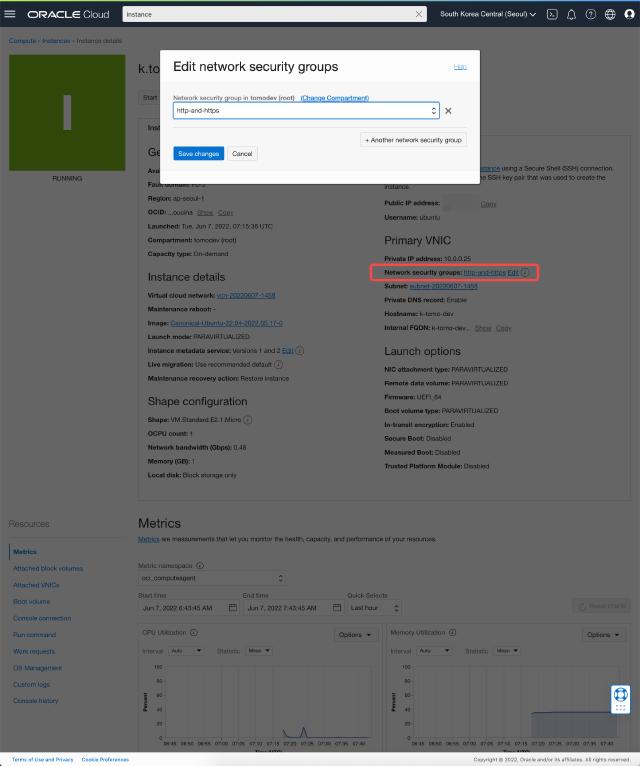
After successful creation, return to the instance details page and edit its Network security groups configuration.
At this point, the instance creation and network configuration are complete. We can install a web server on the instance and test network connectivity.